Ready to Hit the Road in Style?
Save money and reduce emissions with vehicles designed to deliver exceptional mileage. Visit our inventory and find a car that fits your lifestyle.
Ready to Hit the Road in Style?
Save money and reduce emissions with vehicles designed to deliver exceptional mileage. Visit our inventory and find a car that fits your lifestyle.
You park the van in November after a good winter of trips. It gets a wash, the engine oil is fresh, and the tyres look fine. Then in February you fill a cup from the tap and it smells like a dam. Nobody touched the water tank for three months, and now the whole fresh water system needs stripping out and sanitising before anyone drinks from it again.
That's the gap most owners fall into. A campervan has two maintenance jobs, not one. There's the vehicle, which is engine, brakes, tyres and drivetrain, and there's the living space, which is water, gas, solar, seals and 12V wiring. The vehicle half feels familiar, so it gets done. The living half gets ignored until something fails 400 km from the nearest town.
Below are 10 maintenance habits that cover both halves, written for Australian conditions. They apply to any motorised camper. They're particularly worth reading if you own a Japanese import, because those vans usually arrive with solid mechanicals and a factory-fitted living pod built for a very different climate.
Campervan maintenance at a glance
- Professional service: every 12 months or 10,000 km, whichever comes first. Full-time travellers should consider every 6 months (Dario Caravans servicing checklist, 2026)
- Roof seals and window frames: quick look before every trip, proper reseal once a year
- Fresh water system: flush and sanitise at the start and end of each travel season, and after any long storage
- Dual battery and solar: check resting voltage and terminal condition monthly
- LPG: check connections before every trip; replace the regulator on the manufacturer's schedule, not a guess
Two Jobs, Not One
Think of the van as a car bolted to a small house. The engine bay runs on car logic: fluids, filters, belts, brake pads, service intervals measured in kilometres. The living pod runs on house logic: plumbing that grows bacteria when it sits still, seals that fail under sun, gas fittings that need a licensed tradesperson, a battery bank that slowly dies if you let it sit flat.
Those two halves fail in completely different ways, on completely different timescales. That's the whole reason this list is organised the way it is. Owners who keep a rhythm across both sides avoid almost everything that strands people on the side of the Stuart Highway.
Tip 1: How Often Should You Service a Campervan?
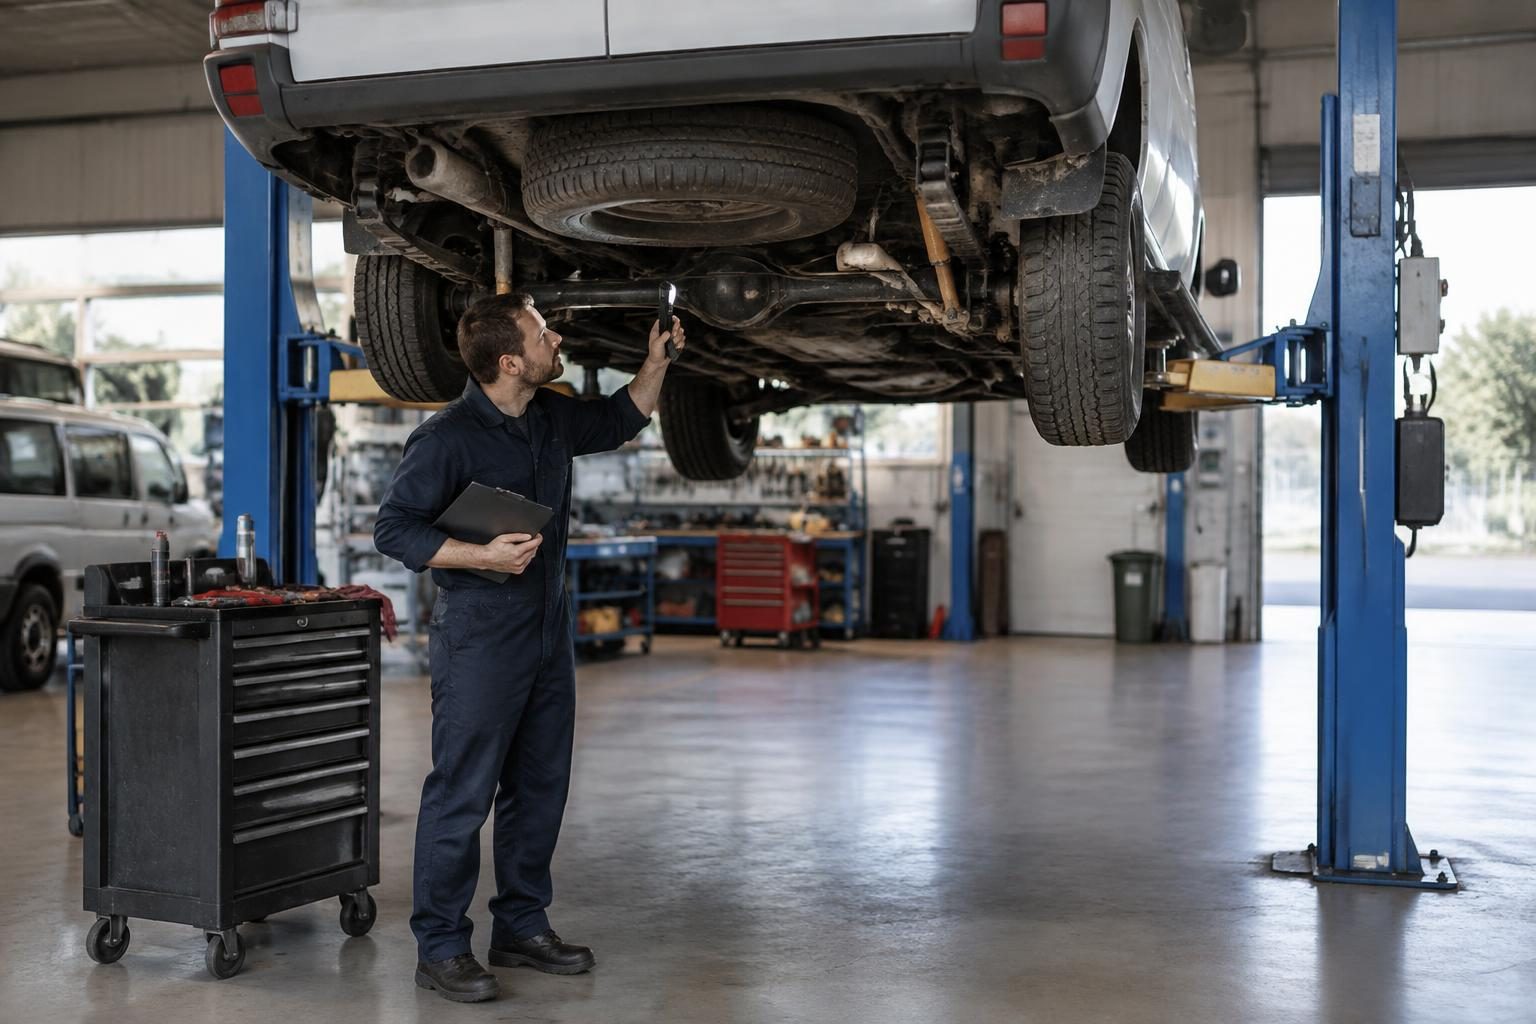
Have the van professionally serviced at least once every 12 months or every 10,000 km, whichever comes first, and every 6 months if you're travelling full-time, according to the 2026 Dario Caravans servicing checklist. A camper carries weight a standard van never does, so the mechanical side wears faster than the odometer suggests.
Add up what's in a converted van: bed base, cabinetry, a full water tank at a kilo per litre, gas bottles, house battery, solar gear, plus everything you pack. That load sits on the suspension, brakes and drivetrain every kilometre you drive, not just on moving day.
Worth knowing what you're actually booking. Dario Caravans notes that a comprehensive service runs to 60-plus checkpoints with a written report, while a basic service covers 16. Ask which one you're paying for before the van goes on the hoist.
 Mechanic examines a van's undercarriage on a two-post vehicle hoist.
If you own a diesel import, one detail matters. Camroad campervans are approved for import across petrol and diesel engine codes including the 1TR, 1KD and 1GD, and the diesel units take a specific oil grade. Factory documentation is the authority there, not a generic oil chart. Confirm it with your mechanic before anyone drains the sump. For the run-up to a long drive, our guide on how to prepare your car for a road trip covers the pre-departure checks.
Tip 2: How Often Do Campervan Roof Seals Need Replacing?
Australian UV is harder on silicone and rubber than the climate these vans were built in. Japan's sun is milder, so factory seals that would last years in Nagoya can start chalking and cracking after a few Australian summers. Water gets in long before you notice a stain.
Here's what you're looking for. Run a finger along the join between a roof vent and the metal roof. Good silicone is flexible and smooth. Failing silicone feels chalky, looks faded, and shows hairline cracks. On window rubber, press it in and watch it come back. Slow return, or no return, means the rubber has dried out.
Do the quick visual scan before every trip. Do a proper reseal once a year whether it looks urgent or not. Repairing a swollen, delaminated cabinet after a wet trip costs far more in time and money than a tube of sealant and an afternoon on a ladder.
Tip 3: How Do You Sanitise a Campervan Fresh Water System?
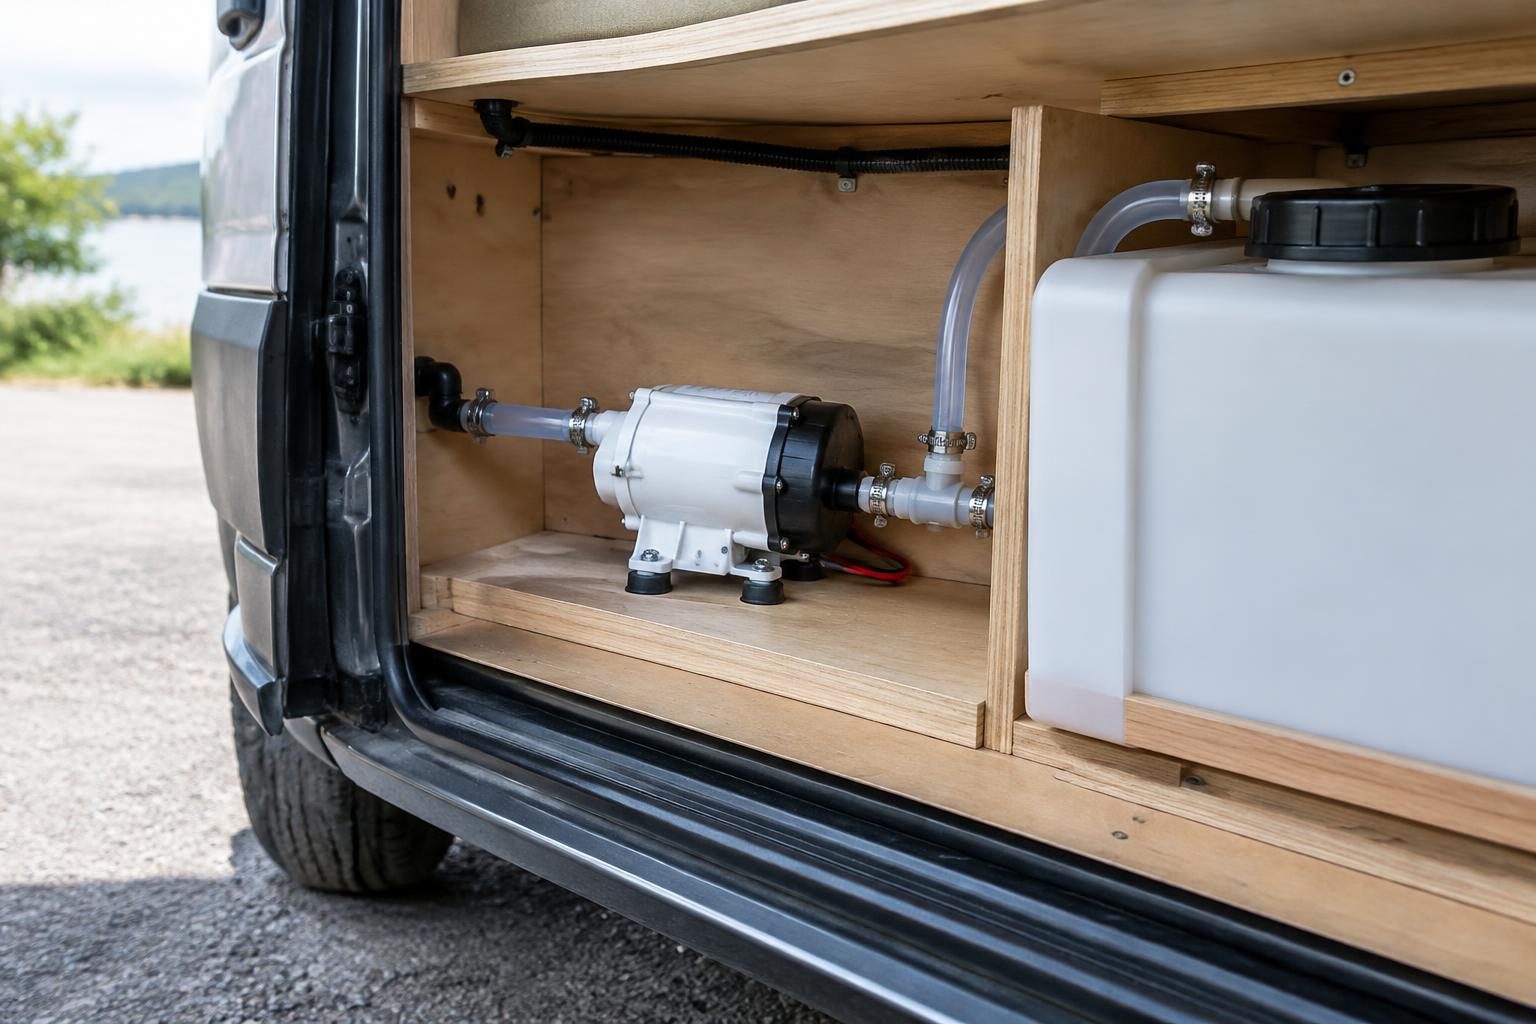
This is the step almost everyone skips, and it carries real health risk. A study of recreational vehicles at three campsites published in Case Reports in Infectious Diseases found Legionella in one in five RVs tested, with 24% of taps and 9% of water tanks culture-positive (Litwin et al., 2013). That research was done in the United States, but standing water behaves the same way in any van.
 Clean campervan water system under a plywood bench by the side door.
The process is simple enough. Drain the tank completely. Refill with a food-safe sanitiser approved for potable water tanks, mixed to the ratio on the label. Run it through every tap and through the hot water system so the solution reaches the whole circuit, not just the tank. Let it sit as directed, then flush with clean water until there's no taste or smell left.
Do it at the start of the travel season, at the end, and after any long storage period. One caution: don't pick a product without checking it suits your tank material. And if you can already see mould inside the tank, stop. A DIY flush won't reach every surface in a contaminated system, and that's a job for a service centre.
Tip 4: What Causes Grey Water Odours in a Campervan?
When a van smells and nobody can find why, the grey water side is usually the culprit. Bacteria build up in the trap between the sink drain and the holding tank, and that smell works its way back up into the living space.
Flushing is the fix. Hot water down the sink regularly, plus an enzyme-based drain cleaner every so often to break down the film that collects in the trap. Enzyme products work slowly but they don't attack plastic fittings the way harsh chemicals can.
Then do the physical check. Get underneath and look at the grey water outlet pipe. Clear of dirt and road debris? Any flexible joints split or cracked from heat and flex? A hairline split in a flexible section will dump grey water under the van instead of into the tank, and you won't notice until you smell it.
Tip 5: How Do You Check Campervan LPG Connections Safely?
Gas is the one system on this list where the rules aren't advisory. LP gas installations in caravans and campervans in Australia are governed by AS/NZS 5601.2:2020, and gas work including repairs and modifications must be carried out by a licensed gas fitter (Energy Safe Victoria standards alert, November 2020).
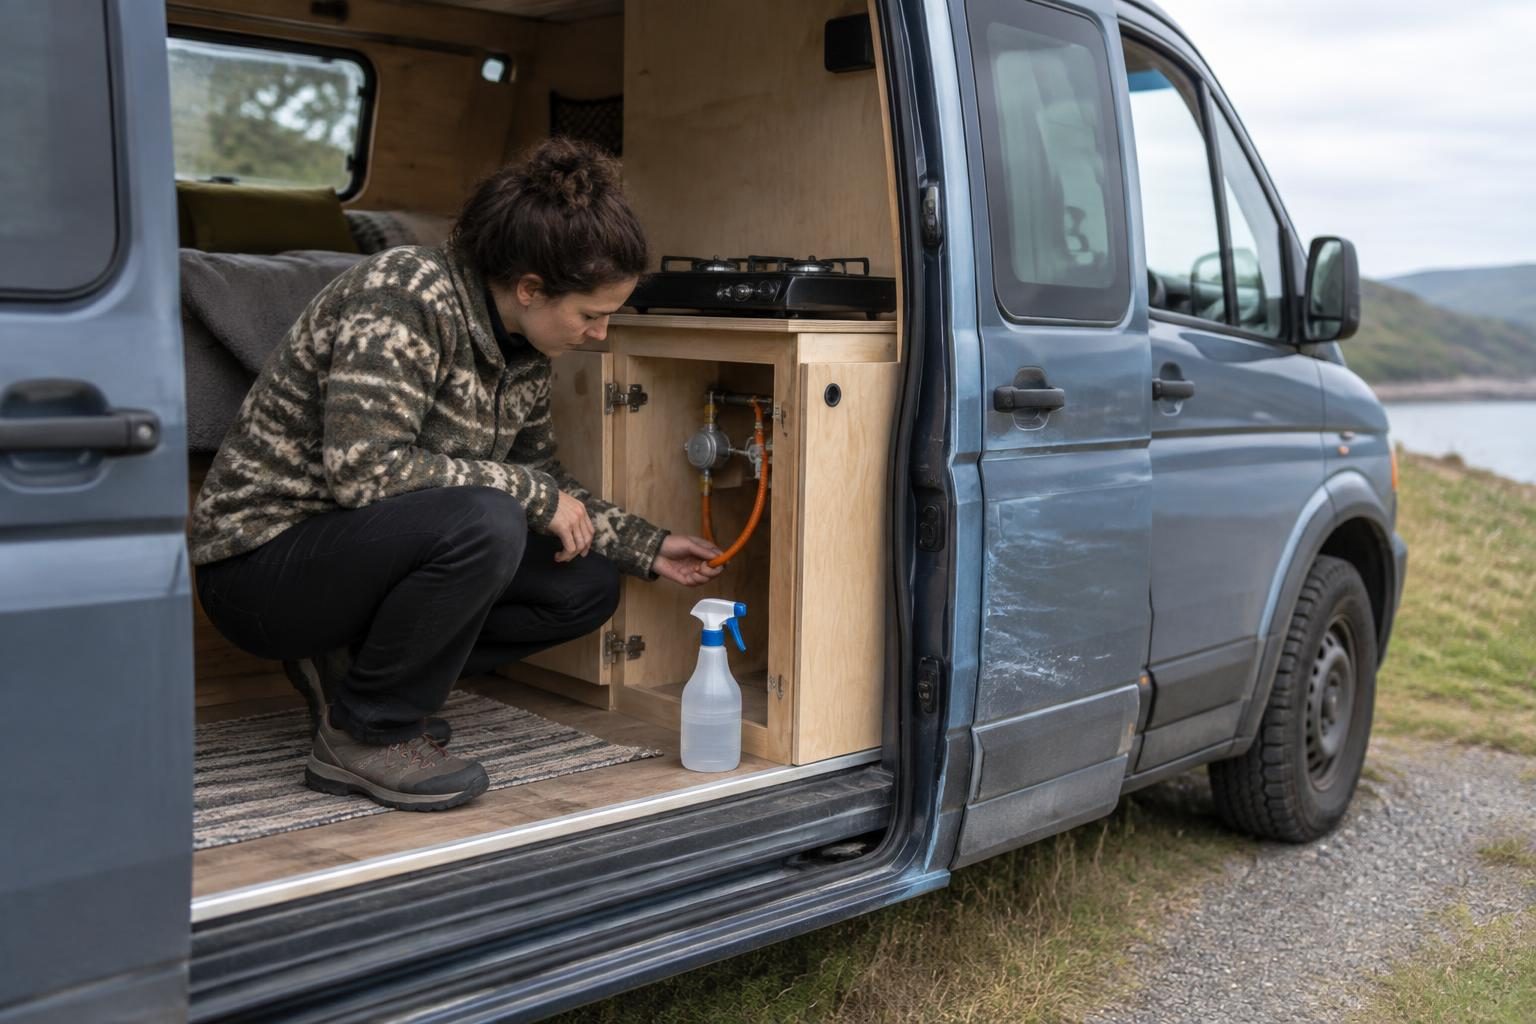 Campervan owner checks a gas hose connection beside a portable cooktop.
The proper leak test is a pressure drop test, run with a gauge by someone who does it for a living. Your DIY backup is soapy water brushed onto every fitting with the gas on. Bubbles mean a leak. Turn the bottle off and book a fitter. Don't chase it with a spanner yourself.
Two more habits. Test the gas and carbon monoxide detectors inside the van monthly, using the test button, and replace them on the manufacturer's schedule rather than when they stop working. And check the regulator's age: manufacturer guidance generally puts replacement somewhere between five and ten years depending on type and environment (Bromic Plumbing & Gas, 2024). Follow the plate on your regulator, not a rule of thumb you read somewhere.
Tip 6: How Do You Check a Campervan Dual Battery System?
Most Japanese campervans run a secondary house battery wired separately from the starting battery, so the fridge and lights can't leave you stranded. A healthy 12V AGM deep cycle battery sits at about 12.8 to 13.0 volts at rest when fully charged (Battery University BU-903), and discharging below 50% capacity causes disproportionate wear (OutbackJoe 12V design guide).
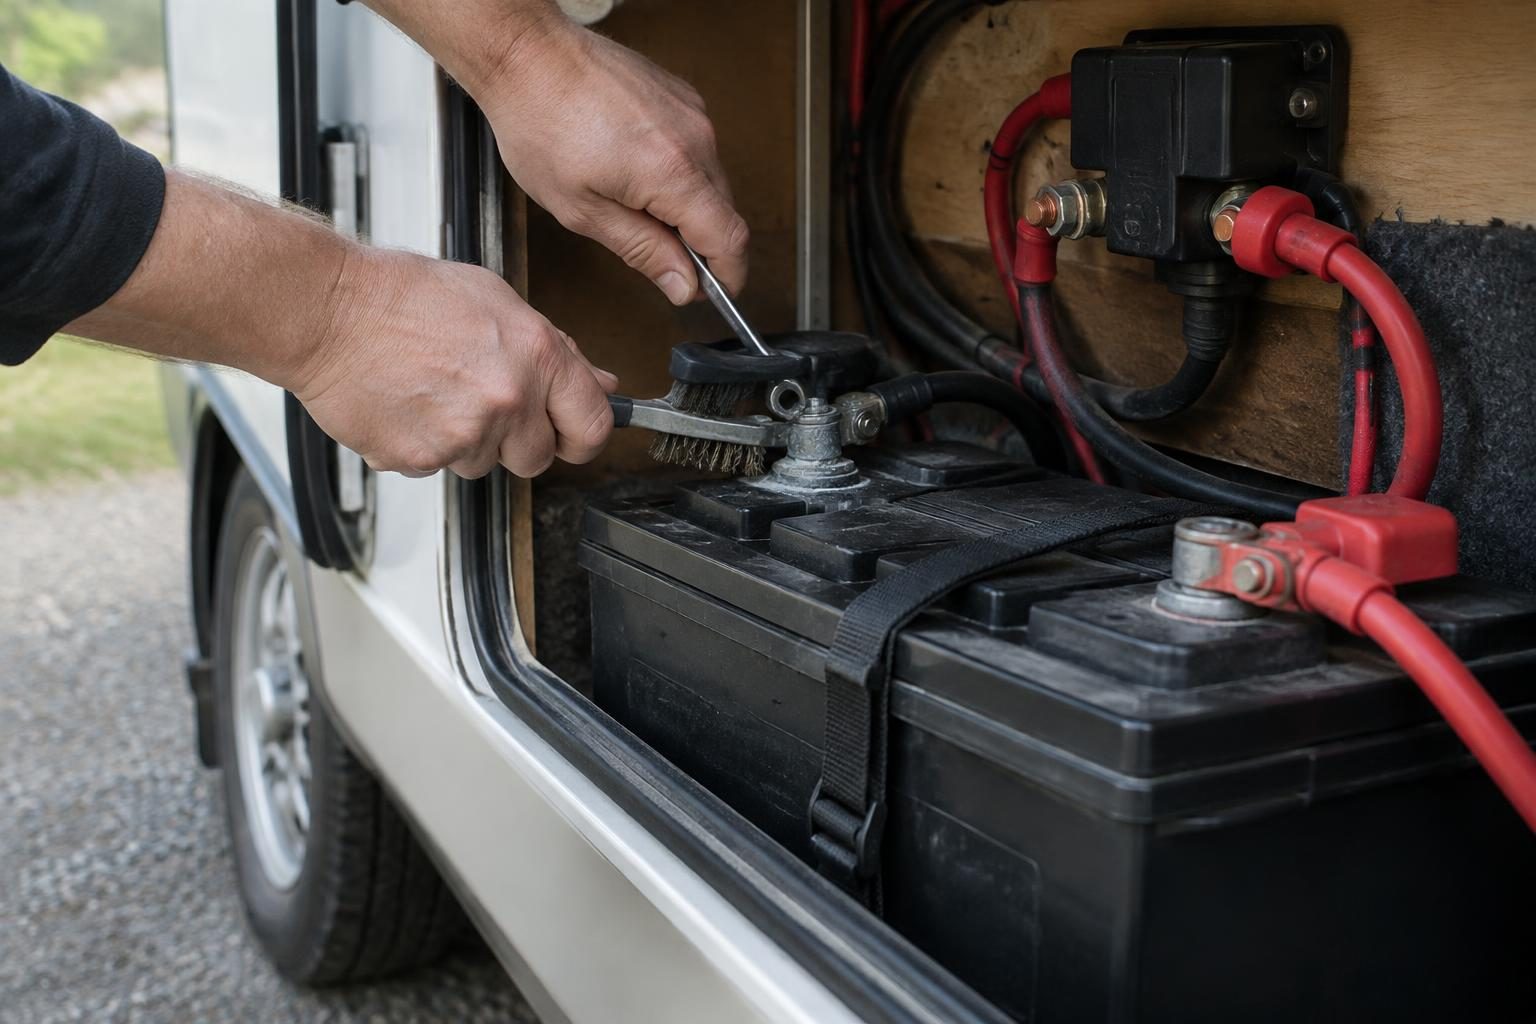 Cleaning and tightening house battery terminals in a campervan locker.
Three things to check each month. First, the terminals on both batteries: white powder or blue-green crust means corrosion, which a wire brush and a smear of terminal grease will fix. Second, the isolator or relay, which should audibly switch when you start the engine so the alternator feeds the house battery. Third, resting voltage, measured with a cheap multimeter after the van has sat overnight. A battery that regularly drops below 11.8V under load has had its day.
One import-specific trap. Older Japanese-market campers, roughly pre-2015 Camroads and Serenas, often carry flooded lead-acid house batteries that need distilled water top-ups. Newer conversions may run AGM or lithium, which are sealed. Identify what you have before you go near it with a bottle of water, because adding water to a sealed AGM damages it. If you're running a hybrid-based camper, our notes on hybrid car maintenance cover the high-voltage side separately.
Tip 7: Are Dirty Solar Panels Costing You Power?
Dust costs you real power. Peer-reviewed research on soiling losses reports output reductions of roughly 15% to 25% for panels in dry and arid climates (peer-reviewed soiling loss study, 2024; IEA-PVPS soiling losses report), and a film of outback red dust after a few hundred kilometres of dirt road sits at the harsh end of that band.
 A person checks a roof-mounted solar panel on a campervan.
Cleaning is easy and easy to get wrong. Water and a soft cloth or a soft brush, nothing abrasive, and no household chemicals that could degrade the anti-reflective coating on the glass. Do it in the morning or evening; cold water on a panel that's been baking all afternoon isn't doing the glass any favours.
While you're up there, look at the charge controller display. Any fault codes? And is it programmed for the battery chemistry actually installed? A controller still set for flooded lead-acid will quietly undercharge an AGM bank for years, and you'll blame the battery when it dies early.
Tip 8: Lubricate the Moving Parts in the Living Pod
Everything in the habitation area that moves will eventually stop moving. Habitation door hinges, the folding bed mechanism, awning arms, slider handles, overhead locker latches, the entry step. Most of these run metal on metal or metal on nylon, and they all need occasional lubrication.
The reason it matters is what failure looks like. A dry hinge seizes and then tears its mounting out of the panel. A seized awning arm won't retract, and an awning that can't be retracted buckles in the first solid gust. A step that deploys slowly is a step about to fail, usually with someone standing on it.
Use a silicone spray or a dry PTFE lubricant. Skip WD-40 here. It works as a penetrant but it attracts dust, and dust plus oil makes a grinding paste that wears the mechanism faster than no lubricant at all. That's a bad trade in Australian conditions.
Tip 9: Check Every Tyre, Including the Spare
Tyres age out before they wear out on a camper. Industry guidance recommends professional inspection from five years of age and then annually, with replacement at ten years regardless of remaining tread (Camper Trailer Australia, 2024). A van that does 6,000 km a year can easily hit that age limit with plenty of tread left.
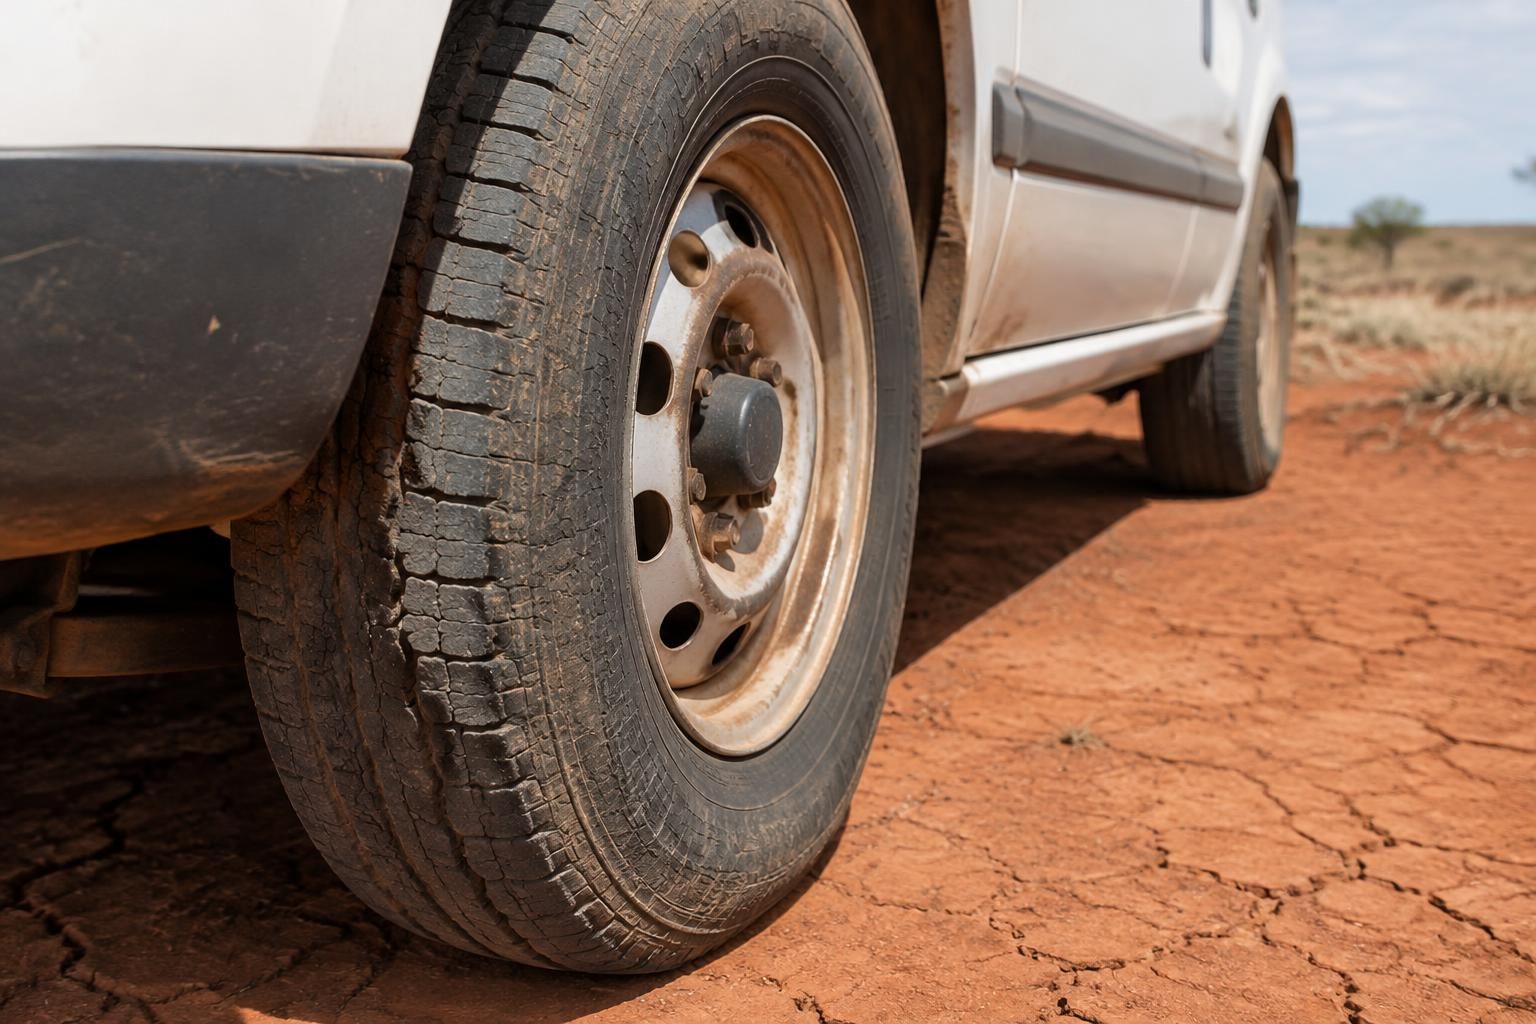 White van tyre on sunbaked, cracked red dirt.
On tread depth, the Australian legal minimum is 1.5mm and 3mm is a sensible practical floor for remote travel (Dario Caravans, 2026); Jayco's own pre-trip guidance nominates 1.6mm and adds a check for sidewall cracks and bulges every time (Jayco Australia, 2024). UV crazing in the sidewall is common on vans that live outdoors here, and a cracked sidewall isn't roadworthy no matter how good the tread looks.
Two more things. Confirm the tyre's load index suits the van's GVM, because a camper is heavier than the panel van it started as. And check pressures cold, before you drive, not at the servo after an hour on the highway.
For imports, check the speed rating as well as the size. Some JDM-spec tyres carry lower speed ratings than Australian highway limits, which is fine in Japan and not fine on the Hume.
Tip 10: Keep a Maintenance Log
A used Japanese import often arrives with no service history you can read, and sometimes none at all. A log you start on day one fills that gap, and within a year it's the most useful document you own about the van.
Record the boring things: oil changes with date and odometer, seal inspections and resealing dates, water system flushes, house battery resting voltages, the tyre manufacture dates and when you last had them inspected, gas regulator age. Six entries a year is enough.
Two payoffs. You stop guessing whether something is due, which is how most maintenance gets skipped. And when you sell, a written record of exactly what's been done to a Japanese import is worth a great deal to the next buyer, who is otherwise looking at a van with no paper trail. Format doesn't matter. A notebook in the glovebox works as well as a spreadsheet.
Which of These Actually Apply to You?
All ten, if you own a motorised camper in Australia. The list doesn't change much between a converted HiAce, a factory-built Camroad, or a Serena or Elgrand conversion. What changes is emphasis. A van that lives outdoors under full sun needs the seal and tyre checks most. A van that gets used in short bursts with long gaps needs the water and battery habits most, because both systems degrade while sitting still.
Australian conditions are the reason these habits matter more here than in Japan. High UV shortens the life of every rubber and silicone component. Outback dust cuts solar output and finds its way into every mechanism. And the distances between towns mean a fault that would be a mild inconvenience in suburban Sydney becomes a genuine problem on the Nullarbor.
If you're still choosing a camper rather than maintaining one, our expert buyer's guide to campervans in Australia works through the shortlist logic. The Toyota HiAce campervan and Toyota Estima campervan guides go deeper on those two platforms.
 A green campervan parked on a quiet rural road.
Considering a Japanese Campervan?
Very few motorised campervans are built new in Australia. The Caravan Industry Association of Australia's State of Industry data for 2026 records just 96 campervans produced locally in 2025, against 937,701 registered RVs on Australian roads, which is a large part of why Japanese imports fill this segment.
Carbarn sources Japanese campervans that arrive with factory-fitted living pods already built in, and handles the SEVS compliance work through its own Sydney workshop. The import pages below set out engine codes, eligible build years, SEVS approval references and how the process runs:
- Toyota Camroad KDY230 campervan — Nuts RV conversion, 1TR, 1KD and 1GD engine codes, builds from 2010 to 2024
- Nissan Serena GC27 campervan — 2.0L MR20DD petrol, eight seats, builds from August 2016
- Nissan Elgrand E51 campervan — 3.5L VQ35DE petrol, eight seats, builds from May 2002 to August 2010
- Daihatsu Hijet S510 campervan — JP Star Happy +1 conversion, S510P petrol, under 80,000 km
The broader import and compliance pages cover eligibility and timelines in more detail.